I have been usually asked by my sisters to design birthday invitation cards for their kids. Till date I have designed around 3-4 of them and wanted to share this knowledge with my blog readers. This tutorial will teach you on how to create a print ready invitation card in Photoshop.
Step 1: Create the Canvas
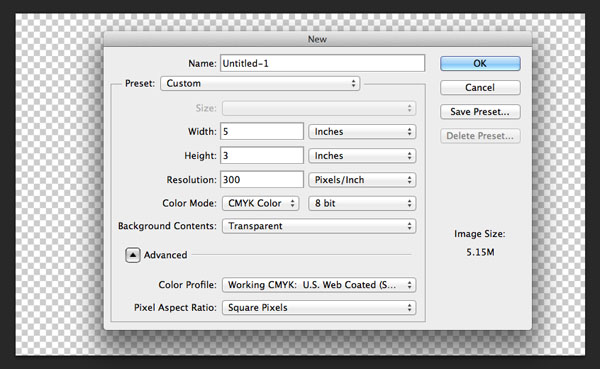
I checked with the printing services provider and he said he can print cards of sizes 5″ x 3″. So, I start creating the card with a canvas size of 5″ x 3″. The DPI/Resolution was set to 300 as it was going to be used for printing purposes and Color Mode was set to CMYK.
Step 2: Background Color
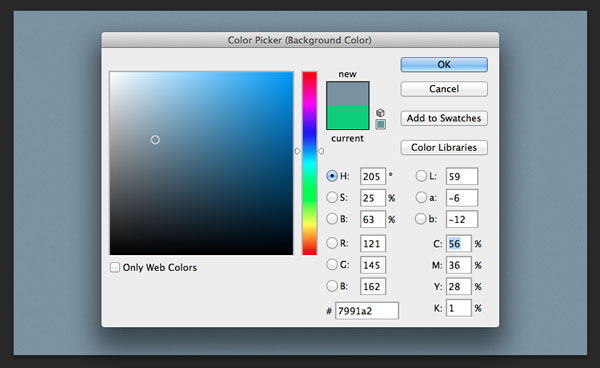
Next, I create a new layer and fill it with color #7991a2.
Step 3: Bottom Strip
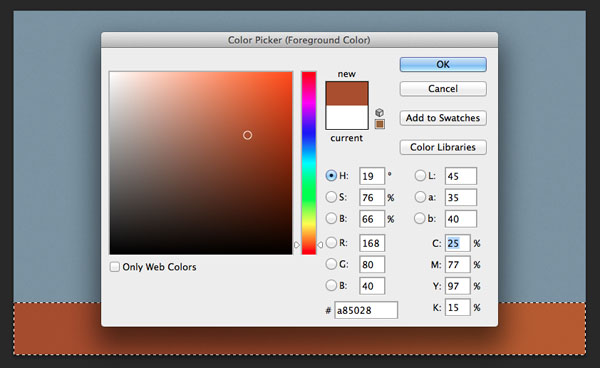
Next, using the rectangular selection tool, I draw a rectangular strip at the bottom of the canvas area. With the area still selected, I fill it with color: #a85028.
Step 4: Adding Icons/Elements
For adding the icons/elements to the card, I used the elements provided in the free wallpaper available here: http://webdesign.tutsplus.com/articles/news/celebrate-envatos-birthday-with-our-freebie-pack/ You can place them in any way you like and play with the various elements available in this download. You can also try other elements or icons available over the internet.

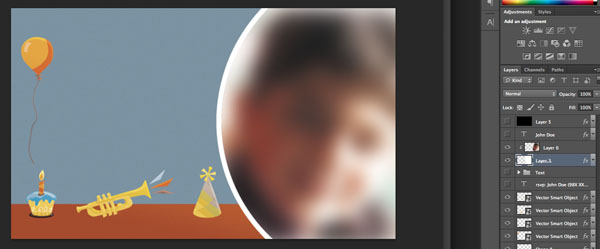
Step 5: Photo Frame
I add a photo frame area to the card where a picture of the birthday guy/gal can come. For this, I create a new layer and select it. With the layer still selected, I select the Elliptical Marquee tool and change the selection mode to Intersection with Selection.

Then I draw a huge circle towards the left corner to create a kind of circular frame. Next I add a white stroke to this layer.

Step 6: Adding Photograph
Next I add a photograph above the photo frame layer and using the Alt/Option Key, I make the photo fit into the photo frame.
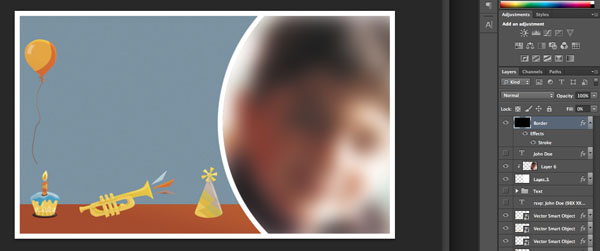
Step 7: Card Border
A thick white border is added to the card by placing a layer at the top and setting its fill to 0%. A 20px white stroke added to this layer gives a border to the card.
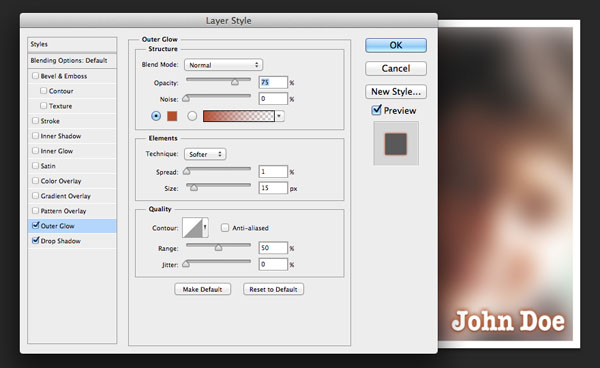
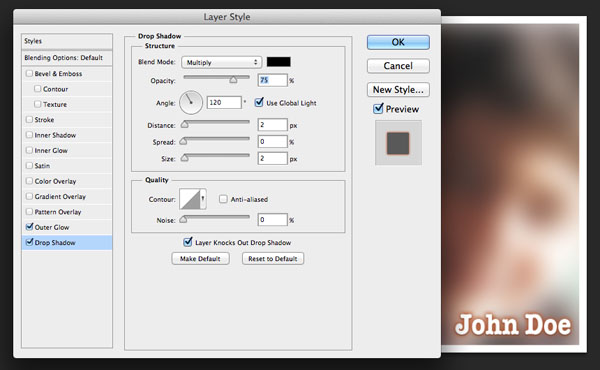
Step 8: Adding Text
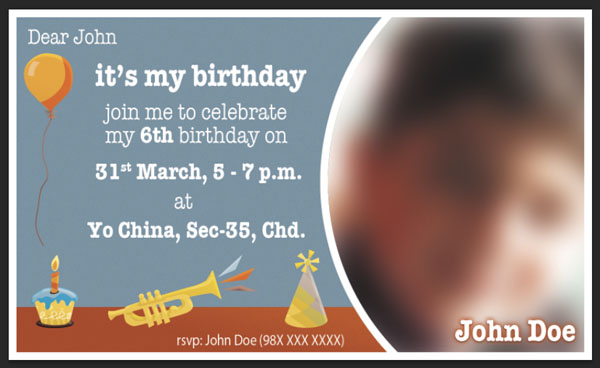
I add name of the person above the photo and give it an Outer Glow and Drop Shadow.
Other details like Invitee’s name, date and place are added to the card. For this, I have used the font: American Typewriter. I also add a rsvp with the phone number at the bottom

Nice Blog Post
OK