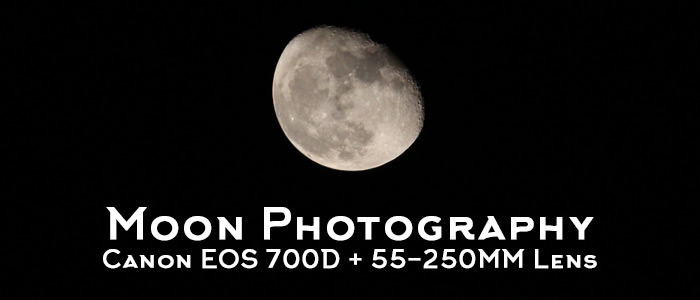
Since the time I purchased my first DLSR, a Canon EOS 700D, around an year ago, photography has developed as one of my best passions. I like carrying my camera not only while travelling but also love to go out in the neighbourhood and get some clicks done.
The DLSR came with 2 kit lenses, one being the 18-55mm and the other one being the 55-250mm lens. For several initial months, I hardly used this lens because I didn’t find much interest in shooting zoomed-in images, rather I wanted to capture wider areas. But when I purchased a tripod, I had an advantage of clicking shorts which required slower shutter speeds, usually the ones during low lights.
One such photography area was to capture the night sky. And starting with the astrophotography, I started picturing the brightest and the biggest object in the night sky, the Moon.
The 55-250mm lens, zoomed-in to its maximum range of 250mm was good enough to capture decent photographs of the moon during night. Even with the kit lens, I was able to get quite good captures of the moon. Just after the first few clicks, I got an idea on the settings that need to be made to get good clicks. Then, I started clicking the pictures of multiple phases of moon every other day.
Check the video below to see some of the captures that were made along with the camera settings for those shots.
Some of the tips that I learned while shooting for the moon were:
- Keep the ISO as low as possible. We don’t want to light up the sky and make the moon look so bright that we cannot see the details of its crust.
- Always use a tripod and set a delay timer to make sure the shot is sharp.
- I preferred using a high aperture value because the moon is quite far away. May be the smaller aperture values would work equally good, but didn’t try with that.
And lastly, in case you are interested in the full-resolution images of the moon captures that I did, download all of them from here.

Thanks helped loads